pgAdmin4 tool is a free management tool for PostgreSQL databases. The robust pgAdmin4 tool offers nearly all the features supported by the command line. The most recent version of pgAdmin is 4. pgAdmin4 is compatible with Windows and Linux operating systems. I’ll walk through the simple Windows pgAdmin4 installation process in this post.
Use the instructions below to install pgAdmin 4 on Windows.
pgAdmin4 Installation Steps
- Visit the pgAdmin.org download page. Click on the Windows icon.
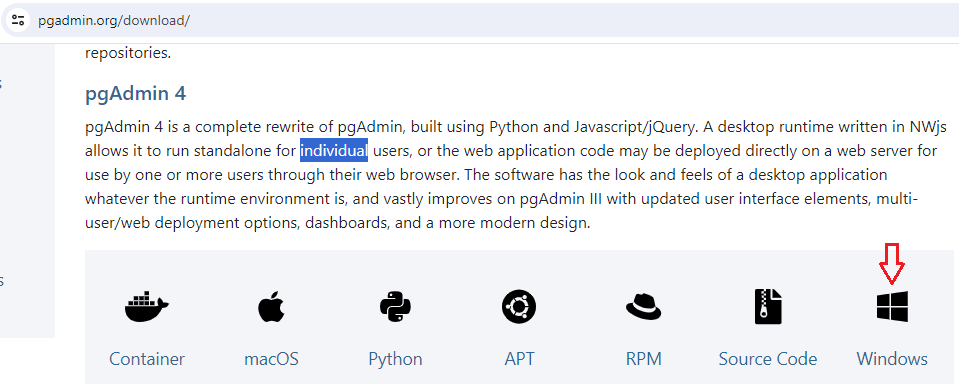
2. Select the most recent version of the pgAdmin. The most recent stable version, as of this writing, is v8.1. Click on pgAdmin 4 v8.1 link.
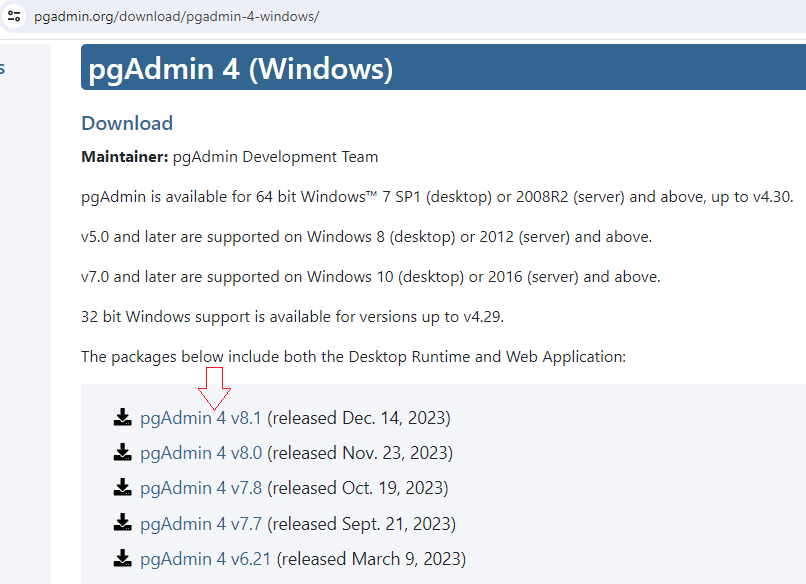
A file browser page will open as a result. Click on the pgadmin4-8.1-x64.exe file. This will download exe file in your download folder.

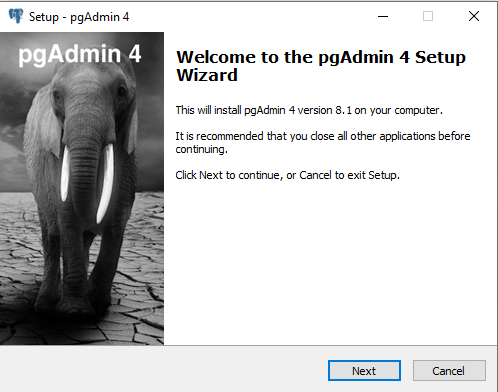
3. Launch the setup file and proceed as directed. Your system will now have pgAdmin4 installed.
4. From the start menu, launch the pgAdmin4 software. In object explorer, right-click on the Servers located on left side menu. After selecting Register, click Server as indicated below.
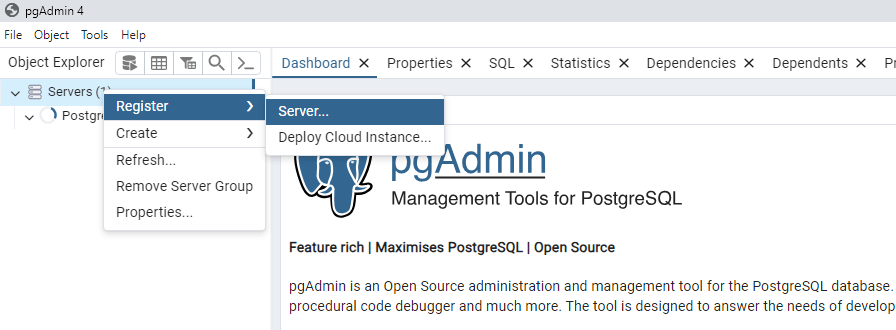
This will cause a popup window to appear and ask for Postgres SQL database connection information.
Enter any connection name in the name textbox of Register-Server window.
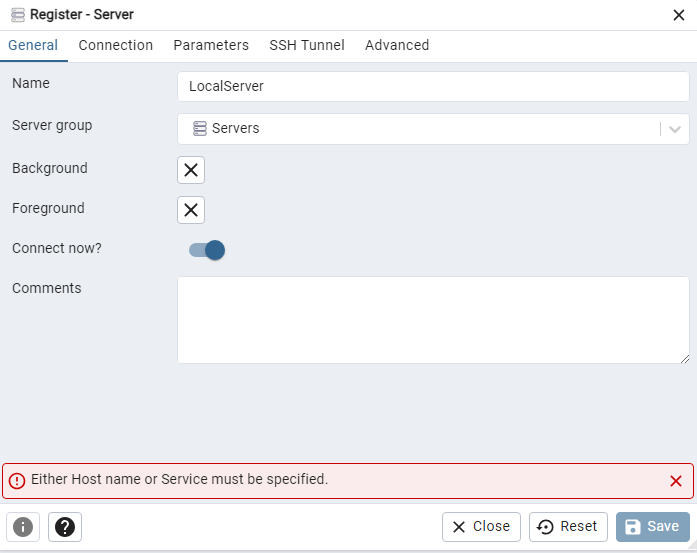
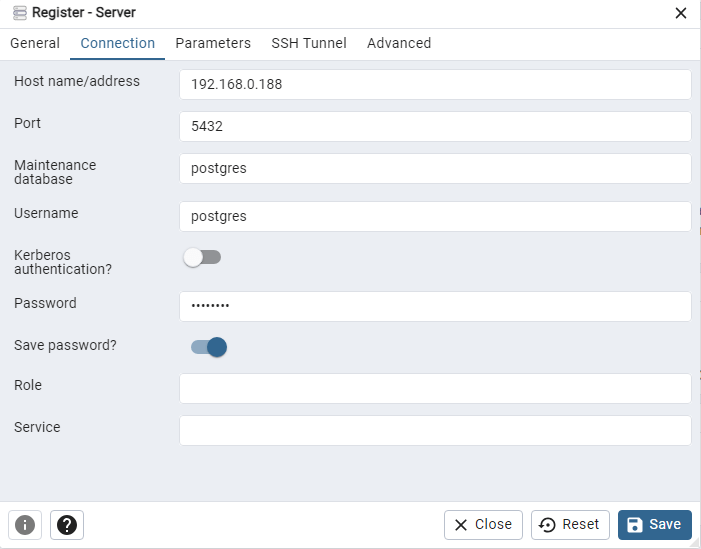
Next, select the Connection tab, and fill the information below.
- Host Name or host address of the server
- Port number of Postgres database server. By default, Postgres database runs on port 5432.
- Login Username
- Login Password
There is no need to fill out the other tabs; they are for advanced features. Press the “Save” button; this will attempt to connect to your database.
Following a successful connection, all Postgres SQL databases will be displayed under the Servers section on the left.
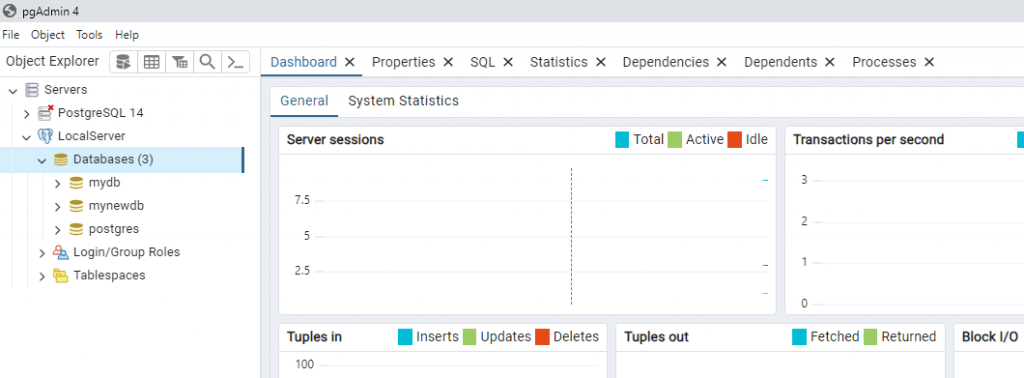
Congratulations! You successfully installed the pgAdmin4 on Windows operation system.
We’d love to hear your thoughts! Join the discussion by leaving your comments below.